You can replace faucet cartridges, aerators, and other parts yourself by turning off the water, removing the faucet handle, taking out the damaged piece, and installing a new one. Cartridges control water flow and temperature, aerators shape the stream and reduce splashing, while washers and O-rings help seal the faucet to prevent leaks.
Whether you’re working with a basic fixture or a modern single-handle kitchen faucet, the fix usually comes down to one worn-out part. This guide will walk you through how to spot the issue and replace it step by step—with just a few tools and a little patience. No plumber needed, no panic required.
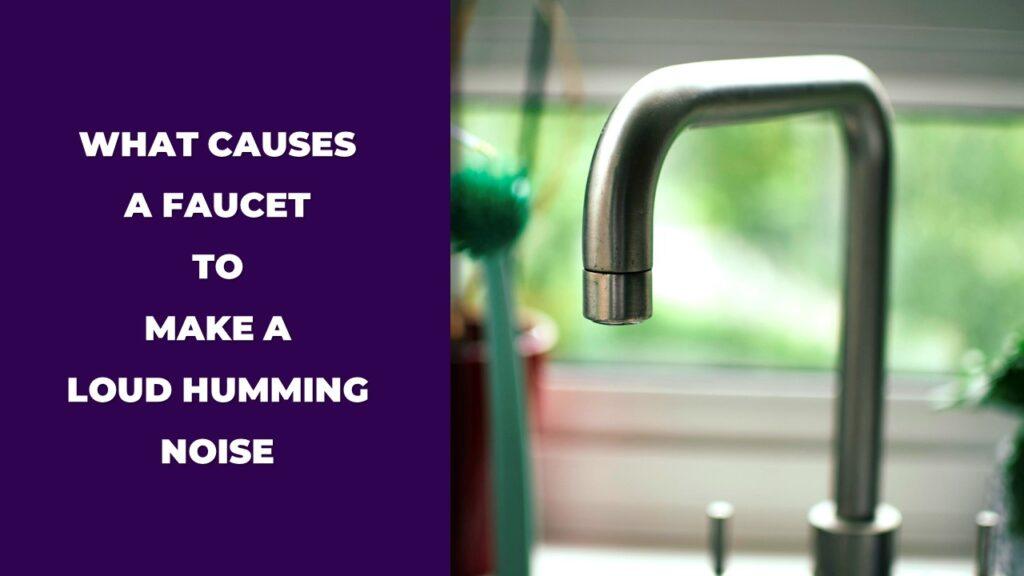
What Causes a Faucet to Leak or Lose Water Pressure?
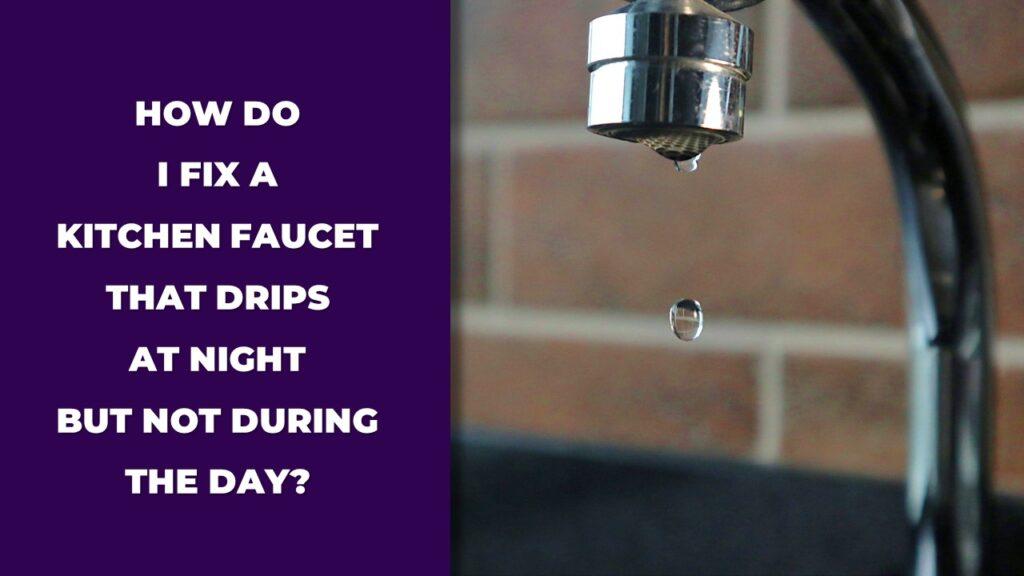
A faucet can leak or lose pressure due to a worn-out cartridge, clogged aerator, or damaged washers and O-rings. These parts control how water flows, seals in pressure, and keeps drips at bay. When they wear down or get blocked by mineral buildup, your faucet starts acting up.
Even small parts can lead to big headaches. A tiny rubber ring or a bit of grit inside the aerator can cause dripping, uneven spray, or a weak stream. These kinds of hidden issues are often discussed when diagnosing common faucet problems. Here’s how to tell what might be going wrong and what needs fixing.
Signs You Need to Replace a Cartridge
The cartridge sits inside the faucet and controls water flow and temperature. When it wears out, you’ll likely notice:
- Constant dripping, even when the faucet is turned off
- Difficulty turning the handle or unusual stiffness
- Irregular water flow or temperature not adjusting properly
- A handle that spins loosely or doesn’t shut off fully
A worn cartridge is one of the most common reasons for faucet leaks, especially in single-handle models.
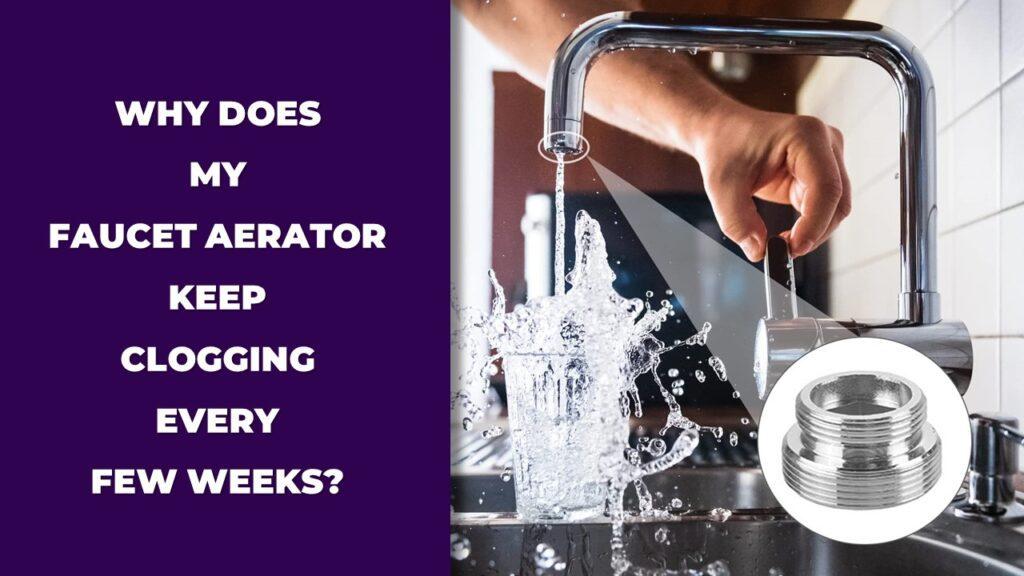
When to Clean or Replace an Aerator
The aerator is the mesh screen at the tip of your faucet spout. It mixes air with water to create a smooth, splash-free flow. But over time, hard water and debris can clog it up. You may need to clean or replace it if:
- Water comes out in a thin stream or sprays wildly
- The flow feels weak, even with the handle turned fully on
- You notice white, chalky buildup at the faucet tip
- The stream looks uneven or noisy
A simple soak in vinegar can fix a clogged aerator, but badly damaged ones may need replacing.
Other Common Wear Parts
Besides cartridges and aerators, other small parts can wear out and cause problems:
- O-rings: These rubber rings help seal the faucet body and handle. When cracked or flattened, they lead to leaks around the base.
- Washers: Found in compression faucets, they press against the valve seat to stop water flow. Worn washers can cause dripping.
- Valve seats: These metal parts can corrode over time and cause leaks, especially in older faucets.
- Handle screws and caps: Loose or rusted screws can make the faucet feel wobbly or not shut off properly.
Checking and replacing these parts can solve many faucet issues without a full replacement.
Tools and Materials You’ll Need
To replace faucet cartridges, aerators, and other parts, you’ll need a few basic tools and some replacement pieces. Most are already in a standard toolbox or are easy to find at a hardware store.
Here’s what you’ll want to have on hand:
- Adjustable wrench: For loosening nuts and fittings
- Allen key set (hex wrenches): To remove handles with hidden screws
- Screwdriver set (Phillips and flathead): For caps, screws, and housing
- Cartridge puller tool (optional but helpful): Makes removing stubborn cartridges easier
- Replacement parts: Cartridge, aerator, O-rings, washers, or valve parts—make sure they match your faucet model
- Plumber’s grease: Helps lubricate O-rings and cartridges for smooth function
- White vinegar: Useful for soaking and cleaning aerators
- Soft cloth or towel: To protect surfaces and catch drips
- Bowl or cup: To hold screws and small parts during the job
Having these ready before you begin will make the repair go smoother and quicker.
How to Replace a Faucet Cartridge (Step-by-Step)
To replace a faucet cartridge step by step:
- Shut off the water supply to the faucet
- Remove the faucet handle using a screwdriver or Allen key
- Pull out the worn or stuck cartridge
- Match and install the new cartridge correctly
- Reassemble the faucet and test for leaks
If you’re standing over the sink, tools scattered, and wondering if you’re about to make things worse, breathe. You’re not alone. Most faucet issues come down to a single part: the cartridge. And yes, it can seem intimidating the first time. But with the right steps (and a few tiny tips people often leave out), you can do this without calling a plumber—even if you’re dealing with a touch-activated kitchen faucet, which can seem a bit more complex at first glance.
Let’s take it slow, step by step.
Step 1: Turn Off the Water Supply
Before you touch a screw, shut off the water lines under your sink. You’ll usually find two knobs, one for hot, one for cold. Turn both clockwise until they’re tight.
Now, here’s a tip many miss: open the faucet fully and let it run dry. This isn’t just about draining the line—it relieves any trapped pressure that could surprise you mid-repair. If water keeps trickling, your shut-off valves might be faulty. In that case, go to your main water supply and close it from there.
Step 2: Remove the Handle and Expose the Cartridge
This is where it gets a bit fiddly. Faucet handles are not all built the same. Some hide the screw behind a decorative cap on top. Others have it tucked underneath. If your faucet has one of those tiny index buttons (marked H or C), pry it off gently with a flathead screwdriver. Don’t scratch the finish.
Now, grab the right tool—usually a Phillips head or an Allen key—and remove the handle screw. Go slowly. If the handle sticks even after unscrewing, it’s likely due to corrosion or mineral deposits. Wiggle gently side to side. You can even warm the area with a hairdryer or apply a little white vinegar to loosen buildup.
Once the handle’s off, you’ll see the top of the cartridge or a nut holding it in place. That’s your target.
Step 3: Pull Out the Cartridge
Here’s where most DIY faucet cartridge replacements hit a wall.
First, look closely. Is the cartridge held down by a retaining nut, a clip, or just pressure-fitted? Use pliers or a wrench if needed. If it’s a clip, carefully pry it loose with a utility knife or flathead.
Now comes the tug. Some cartridges pull right out with a gentle twist. Others? Not so much. If yours is stuck inside the faucet like it’s been super-glued, don’t panic. Grab a cartridge puller tool and double-check whether your model uses a unique mechanism like a metering cycle faucet, which might behave differently.
This is especially true for setups like a wall-mount kitchen faucet, where internal access can feel a bit trickier. You screw the tool into the center of the cartridge and gently turn to break the seal. That stuck faucet cartridge will come loose without damaging the valve body.
Wipe the opening clean using a soft rag. Gunk, old rubber bits, or calcium buildup can cause future leaks.
Need help figuring out which type you have? Here’s a handy comparison:
Cartridge Type Comparison Table
| Cartridge Type | Common Location | How It Works | Removal Method |
| Ceramic Disc | Modern single-handle faucets | Two discs control water flow and mix hot/cold | Lift out after unscrewing the retaining nut |
| Compression | Older two-handle faucets | Rubber washer seals water flow | Unscrew the stem; the washer is under the seat |
| Ball Cartridge | Single-handle faucets | Ball rotates to adjust pressure & temp | Remove the retaining cap; use a ball tool |
| Washerless | Various modern styles | Rubber stopper + spring system | Twist or pull out, depending on the faucet brand |
Knowing your cartridge type is half the battle, especially if you’re buying a replacement cartridge for a kitchen or bathroom faucet.
Step 4: Install the New Cartridge
Now’s not the time to rush. Take your new cartridge and compare it side by side with the old one. Do the tabs and notches line up? They should look nearly identical.
Before sliding it in, apply a bit of plumber’s grease around the rubber O-rings. This helps with sealing and makes future replacements easier.
Gently insert the new cartridge into the valve body. Don’t force it. If it’s resisting, it’s probably misaligned. Realign it and try again. Once seated, secure it with the nut or clip you removed earlier.
Step 5: Reassemble and Test
Time to reverse your steps.
Reattach the faucet handle and tighten the screw. If there was a decorative cap, snap it back into place.
Now, slowly turn the water supply back on. Go one valve at a time. Watch for any drips or sudden sprays. Let the faucet run a few seconds to flush out air and test for leaks.
Turn it on and off. Try hot, then cold. If it moves smoothly and no water is leaking around the base or handle, you nailed it.
Give yourself a high-five. You just finished your DIY faucet cartridge leak repair and saved yourself a call (and a bill) from the plumber.
How to Clean or Replace a Faucet Aerator
To clean or replace a faucet aerator step by step:
- Twist the aerator off from the faucet tip
- Soak it in vinegar to break up mineral buildup
- Scrub it gently with a soft brush
- Rinse and reinstall it, or replace if it’s damaged
So your faucet is spitting water sideways, or the stream is barely a trickle, and you’re standing there wondering if something’s seriously wrong. Take a breath. It’s probably the aerator.
That tiny piece at the tip of your faucet is more powerful than it looks. It collects sand, debris, and hard water minerals. Luckily, cleaning or replacing it is one of the easiest DIY fixes for low water pressure from a faucet, and you don’t need a plumber.
Step 1: Unscrew the Aerator
First things first—get that little guy off. Look closely at the end of your faucet. Most aerators unscrew counterclockwise. If it’s been a while (or never cleaned), it might be stuck.
Try turning it by hand. If that fails, wrap a rag or rubber band around it for a better grip and use a pair of pliers. Don’t scratch the finish—go slow and gently. If you drop it in the sink, don’t panic. That’s why we plug the drain first. It sounds silly, but losing that tiny washer down the pipe is maddening.
Some faucets have hidden or recessed aerators, and those need a small key or removal tool (usually included when you buy a new one).
Step 2: Clean the Aerator
Once it’s out, you might see white crusty deposits, sand-like bits, or gunk inside. That’s what’s been messing with your water flow.
Place all the aerator parts (the screen, housing, and washers) into a bowl filled with equal parts white vinegar and warm water. Let them soak for about 30 to 60 minutes. This helps break up calcium and grime from hard water.
Use a soft brush—like an old toothbrush—to scrub the pieces clean. Don’t forget to rinse everything thoroughly afterward. Check the mesh screen and rubber washers. If they’re torn, rusted, or too far gone, it’s time for a new one. Clogged aerators are a frequent complaint, especially in homes with hard water faucets.
Step 3: Reinstall or Replace the Aerator
Now that it’s clean (or you’ve got a new one), screw the aerator back onto the faucet by hand. Turn on the water and watch the magic happen. You should get a smooth, steady stream without the splash or spray mess.
If the flow is still off or the aerator doesn’t screw in properly, double-check for damaged threads or missing washers. A replacement faucet aerator that matches your brand and size can be found at any hardware store. Just bring the old one with you.
This tiny fix can restore faucet water pressure and save you a world of frustration in just a few minutes.
How to Replace Other Common Faucet Parts
To replace other faucet parts like O-rings, washers, or handle screws:
- Find where the leak or wobble is coming from
- Carefully disassemble the faucet base or handle
- Remove the worn washer or O-ring and match the size
- Re-grease and replace, then tighten everything back up
Sometimes the problem isn’t big and obvious—it’s a little drip from the base, a wobbly handle, or a faucet that just feels off. You might be thinking, “Do I need a whole new faucet?” Probably not.
Often, it’s a tiny rubber ring or a flattened washer causing all the fuss. These fixes take minutes but can completely stop a faucet from leaking around the base or handle.
Replacing O-Rings and Washers
O-rings seal the moving parts inside your faucet, usually between the spout and base. When they wear out, water starts leaking around the faucet body.
Here’s how to replace them:
- Turn off the water (yes, again). Always.
- Remove the handle and spout collar. You may need a wrench.
- Gently pry out the old O-ring with a flathead screwdriver or dental pick
- Clean the groove it sits in. A little plumber’s grease goes a long way
- Slide the new O-ring into place. It should sit snugly, not stretched too tight.
For compression-style faucets, the washer is typically at the bottom of the valve stem. If your faucet drips only when off, it’s usually the washer.
Just unscrew the stem, replace the washer, and screw it back. Simple fix, big relief.
Swapping Out Handles, Caps, and Screws
Wobbly handles? Screws rusted or stripped? This part’s straightforward but super satisfying.
Here’s how to fix a loose faucet handle:
- Look for a cap on the top or side of the handle. Pry it off gently.
- Use the correct screwdriver or Allen wrench to remove the set screw.
- Take off the handle and inspect the screw or threads. If stripped, replace them.
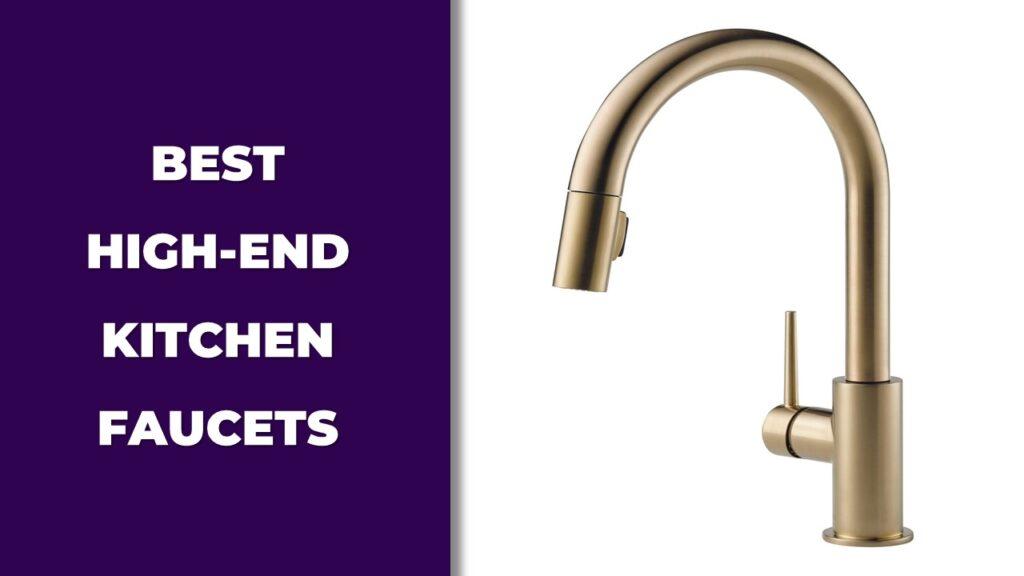
If the cap or handle is scratched or cracked, replacements are usually brand-specific. Bring your old piece to the store so you get a perfect match. Or consider upgrading to high-end kitchen faucets that use more durable parts and smoother handle assemblies.
And just like that, your faucet stops leaking, stops wobbling, and feels brand-new, without replacing the whole thing.
When to Call a Plumber Instead
Call a plumber if the faucet cartridge is stuck, parts are corroded beyond repair, or if the leak continues after replacement. You should also reach out for help if you can’t identify the faucet model or if the shut-off valves aren’t working properly.
Now, if you’ve followed every step, replaced the cartridge, cleaned or swapped the aerator, and even checked the O-rings, but the leak just won’t stop, you’re probably not dealing with a simple DIY fix anymore. Sometimes the valve seat inside the faucet is damaged, or the inner components are worn beyond what a wrench and cartridge can solve.
If you’re wrestling with a cartridge that refuses to come out no matter what tool you use, forcing it can crack the valve body or strip the threads. That’s a bigger headache than calling in a pro. Same goes for shut-off valves that won’t close or are leaking themselves—that’s a plumbing issue that can affect your whole sink.
And if you’ve got a high-end faucet with no brand markings or odd-sized parts, identifying the correct replacements might be close to impossible without a plumber’s input. When in doubt, it’s better to make one call than risk a full faucet replacement or water damage.
Maintenance Tips to Prevent Future Issues
To prevent future faucet issues, clean the aerator every few months, check for leaks regularly, and lubricate moving parts once or twice a year. A little maintenance can save you from costly repairs down the line.
Most faucet problems creep in slowly, like a small drip that becomes a steady leak or a weak stream that turns into a total clog. To stay ahead, make a habit of unscrewing and cleaning the aerator every 3–6 months, especially if you live in a hard water area. A 10-minute soak in vinegar keeps mineral buildup from ruining your water flow.
Check under your sink now and then for moisture, rust on the supply lines, or slow leaks around shut-off valves. That quick peek can catch problems early. Also, if your faucet handle starts to feel stiff or squeaky, it’s time for a dab of plumber’s grease on the moving parts.
And keep those tiny parts, O-rings, washers, spare aerators, on hand. Having them ready when something goes wrong means no late-night trips to the store or waiting days for an online order.
Final Thoughts
Replacing faucet cartridges, aerators, and other small parts yourself might sound tricky, but it’s one of the most approachable home repairs you can take on. With the right tools and a little patience, you can fix leaks, restore water pressure, and get your faucet working like new again, without spending money on a plumber. Learning how to replace a faucet cartridge step by step not only saves water, it also builds your confidence with every turn of the wrench.
Understanding how to clean or replace a faucet aerator, or swap out worn O-rings and washers, gives you full control over the most common faucet problems. These parts might be tiny, but they’re the heart of the faucet’s function. When you replace or clean them properly, you avoid future breakdowns and keep things running smoothly.
So if your faucet is dripping, clogged, or feeling loose, don’t ignore it. You now know how to replace faucet cartridges, aerators, and other parts yourself the right way. If you’re still exploring styles, materials, or setup options, check out this full comparison of faucet types and configurations before investing in a new one. A few minutes of focused effort can restore peace and function to your kitchen or bathroom without the stress, cost, or waiting around for help.
Related FAQs
How Do I Know If My Faucet Cartridge Is Bad?
If your faucet drips when turned off, feels stiff or loose when moving the handle, or gives inconsistent water temperature or flow, your cartridge is likely worn out and needs replacement.
Can I Replace a Faucet Cartridge Without a Plumber?
Yes, most faucet cartridges can be replaced at home with basic tools like an adjustable wrench, screwdriver, and possibly a cartridge puller. It’s one of the easiest DIY fixes for a leaking or malfunctioning faucet.
What Is the Easiest Way to Remove a Stuck Faucet Cartridge?
To remove a stuck faucet cartridge, use a cartridge puller tool designed for your faucet type. Applying white vinegar to the area can help loosen mineral buildup if it’s corroded.
How Often Should I Clean My Faucet Aerator?
You should clean your faucet aerator every 3 to 6 months to prevent mineral buildup, especially if you live in a hard water area. A vinegar soak usually clears most blockages.
Why Is My Faucet Still Leaking After Replacing the Cartridge?
If your faucet is still leaking after replacing the cartridge, check the O-rings, washers, or valve seat for wear or damage. It’s also possible the new cartridge wasn’t seated properly.
Can I Use Any Cartridge in My Faucet?
No, faucet cartridges are brand- and model-specific. You need to match the replacement cartridge with your faucet’s exact make and model to avoid fit and performance issues.
What Tools Do I Need to Replace a Faucet Cartridge or Aerator?
You’ll need a screwdriver set, an adjustable wrench, Allen keys, plumber’s grease, and possibly a cartridge puller. For aerators, you may also need pliers or a removal key, depending on the style.

Dylan Foster is a family man with years of hands-on experience in plumbing, household maintenance, and fixing everyday issues around the home. A former plumber, Dylan knows what it’s like to deal with tricky leaks, worn-out parts, and all the little problems that pop up in a house. From plumbing repairs to kitchen fixes and garden hose setups, he’s done it all. Dylan shares real-world solutions to help others keep their homes running smoothly and avoid costly mistakes.