A leaky faucet usually means a washer, O-ring, or valve seat has worn out. These small parts break down from daily use, water pressure, or mineral buildup. Fixing it means turning off the water, opening the faucet, replacing the worn parts, and putting it back together. Cleaning and quick checks can help prevent future leaks.
In this guide, we’ll show you how to troubleshoot a leaky faucet, explain what causes the leak, walk you through how to fix it step by step, and share tips to stop it from coming back. Whether it’s a steady drip or a sudden mess, you’ll find real, simple fixes right here.
Common Causes Of A Leaky Faucet
A faucet usually leaks because something inside it has worn out, loosened, or just stopped doing its job. Maybe it’s a washer that’s flattened over time. Maybe the water pressure’s too high and now your faucet’s had enough. If you’re staring at a slow drip and thinking, “Why now? What even causes this?” you’re not alone. Most leaks come from just a few small things.
Let’s walk through them, one by one, in plain language:
- Worn-Out Washers And O-Rings: These little rubber pieces are like the peacekeepers inside your faucet. They handle all the pressure from every turn of the handle. But after months or years, they flatten, dry out, or crack. Suddenly, water finds its way out, even when you’re sure the faucet is “off.” If water is dripping from the spout after you shut it off, this could be the cause.
- Damaged Or Worn Cartridges: If your faucet has a single handle, it probably uses a cartridge. These are like the heart of the faucet, controlling both flow and temperature. When they get old or clogged with grit from your water, things don’t seal like they should. You might see water dripping from the spout, or worse, leaking from around the handle.
- Corroded Valve Seats: The valve seat is the part where the spout connects to the rest of the faucet. If you’ve got hard water, minerals start building up, and over time, they chew away at the metal. Some kitchen faucets for hard water are built with better protection against this kind of wear. You won’t see it until water starts trickling out from places it shouldn’t. This one’s sneaky because everything looks fine until it isn’t.
- Loose Or Broken Internal Parts: You know how something can rattle loose over time, just from being used too much? That happens inside faucets, too. Tiny screws, rings, or nuts can shift a little with every twist. Eventually, they’re loose enough that water slips past them. The fix might be as simple as tightening something that’s slipped.
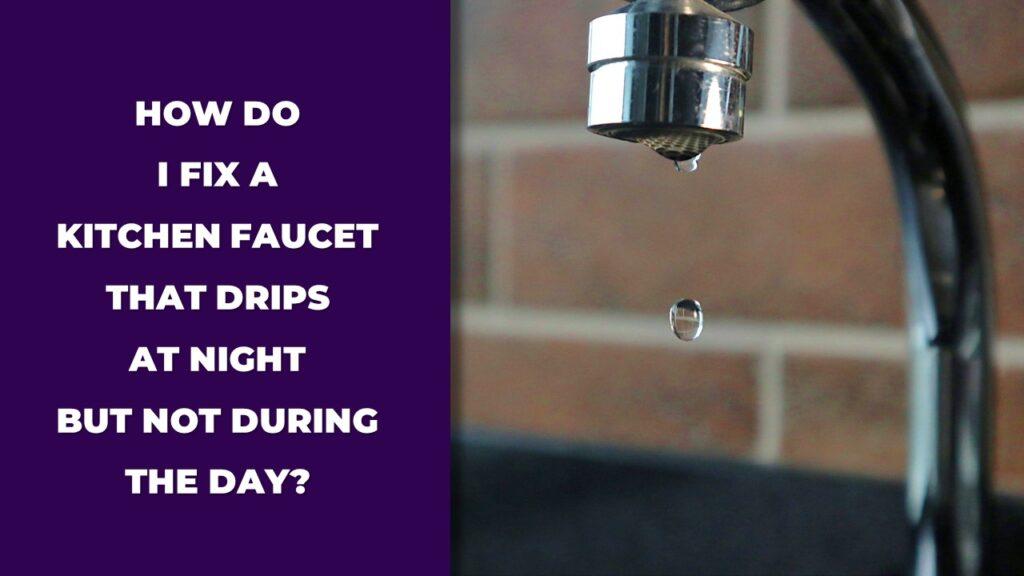
- High Water Pressure: This one throws people off. If your faucet leaks only at night or randomly during the day, it could be water pressure pushing too hard on the seals inside. It’s like blowing up a balloon until it pops. In this case, it’s your faucet seals giving up. A plumber can check the pressure and suggest a fix.
How To Identify The Source Of The Leak
Before you grab your tools or start pulling parts apart, pause for a second. You need to figure out where the leak is actually coming from. That drip might look like it’s coming from the spout, but sometimes it’s trickling from behind the handle, under the base, or even from underneath the sink. And when you’re frustrated and the floor’s already wet, it’s easy to miss the real cause.
Here’s how to spot what’s really going on:
- Leaking From The Faucet Handle: Water puddling around the handle or running down it? That usually means the O-ring or cartridge inside is done. It’s a common issue with single-handle faucets. If it leaks even when the tap is off, that’s your clue.
- Leaking From Under The Spout: If the spout itself keeps dripping after you turn off the water, you’re probably dealing with a worn washer, bad cartridge, or a corroded valve seat. This is a common issue, especially if your faucet leaks at night but not during the day. The inside isn’t sealing tight anymore. That’s why the water just keeps seeping through.
- Leaking At The Base: If you’re wiping water off the counter every time you run the faucet, look where the faucet meets the sink. A cracked gasket, a poor seal, or a loose mounting nut could be the reason. It’s one of those leaks that feels small until it soaks the cabinet below.
- Leaking From Water Supply Lines: Sometimes, the leak isn’t from the faucet itself. Check under the sink. Are the hoses connecting to your faucet wet or dripping? Maybe they’ve cracked. Or maybe they’re just not tight enough. Either way, it’s something you’ll want to catch before it turns into a mess.
Step-By-Step: How To Fix A Leaky Faucet
To fix a leaky faucet step by step:
- Turn off the water under the sink.
- Gently take the faucet apart.
- Look closely at the washers, O-rings, and cartridges.
- Swap out the damaged parts with new ones that match.
- Put it all back together and turn the water back on.
Most faucet leaks aren’t about big problems. They’re often caused by tiny parts giving out after years of use. And when you’re standing there with a wrench in one hand and YouTube in the other, it can feel more complicated than it really is. Breathe. One step at a time is all it takes.
Step 1: Turn Off the Water Supply
Before anything else, stop the water. Reach under the sink and look for two small knobs. One is for hot, the other is for cold. Turn both to the right until they don’t turn anymore. That shuts off the water going to the faucet.
Now, open the faucet to let out any water still in the line. You’ll hear a little hiss or see a final splash. That’s normal.
If those shut-off valves haven’t been turned in years, they might be stiff. Don’t panic. Wrap a rag around them and use a bit more grip. Still stuck? Spray a little WD-40 and wait. If they just won’t budge, you might need to turn off the main water line for the house. Annoying, but doable.
Step 2: Disassemble The Faucet
This is where it can feel like you’re about to mess something up. But trust me, it’s easier than it looks.
If you have a single-handle faucet, look for a small cap or plug on the top or back of the handle. Pry it off with a flathead screwdriver. Underneath, you’ll see a screw. Loosen it with an Allen wrench, then lift off the handle.
For two-handle faucets, the caps on top usually twist or pop off. Unscrew the top and pull the handles off one at a time.
Once you’re past the handle, there’s usually a retaining nut or packing nut underneath. Use an adjustable wrench to unscrew it. Don’t force anything. If it’s stuck, a gentle wiggle often helps more than brute strength.
Here’s a tip: lay a towel in the sink and take a photo of each step. It helps later when you’re staring at a pile of parts, wondering what goes where.
Step 3: Inspect And Identify Worn Components
With the faucet open, you’re now face-to-face with the usual troublemakers.
Slow down and look closely. You’re checking for:
- Washers that are flattened, cracked, or crumbly
- O-rings that feel brittle or loose
- Cartridges that seem stuck, corroded, or dripping
- Valve seats with greenish or chalky buildup (a sign of corrosion)
Sometimes the damage is obvious. Other times, it’s subtle, like when faucet handles leak instead of the spout, even though the internal parts seem fine. If something feels off, it probably is. If you’re unsure, take that part with you to the hardware store. Show them what you’re working on. Most of them have seen everything and will help you match it.
Here’s a quick cheat sheet to keep in mind:
| Faucet Type | Common Cause Of Leak | What To Do |
| Compression | Worn washer | Replace washer |
| Cartridge | Cracked or loose cartridge | Replace cartridge |
| Ball | Worn seals or springs | Use the repair kit |
| Ceramic Disk | Worn seals or sediment | Clean or replace seals |
Step 4: Replace With Correct Parts
Now that you know what’s wrong, it’s time to fix it.
Match the size and type exactly. Don’t guess, faucet parts are fussy. A washer that’s too small won’t seal. An O-ring that’s too thick won’t sit right. That’s why it’s always best to bring the old part with you.
If you can’t find the exact one, many stores sell universal repair kits. Just make sure it matches your faucet’s style, whether it’s compression, cartridge, ball, or ceramic disk.
Before putting in the new parts, clean the inside of the faucet with a soft toothbrush or cloth. If there’s white or green buildup, dip the cloth in white vinegar. Wipe it gently. Then, apply a dab of plumber’s grease to the new washer or O-ring to help it sit better and last longer.
Step 5: Reassemble And Test For Leaks
Time to put it back together.
Start by reversing your steps. The stem or cartridge goes in first, then the retaining nut, then the handle. Tighten everything snug, but not too hard. Overtightening can crack the new parts you just put in.
Now turn the water supply valves back on, slowly. Let the water run for a few seconds. This helps flush out any air bubbles and gives you a chance to check for drips.
Watch closely.
If it’s dry, congrats, you nailed it. If it’s still leaking, don’t beat yourself up. Go back and double-check the parts. Maybe something isn’t seated right. Maybe you need to adjust the tightness.
Still leaking after a second try? It might be time for a full cartridge replacement or to bring in a plumber. That doesn’t mean you failed. You just reached the edge of the DIY zone, and that’s okay.
DIY Fixes By Faucet Type
To fix a leaky faucet correctly, you need to know what kind of faucet you’re dealing with. Each type has its own parts and repair process. The four main types are compression, cartridge, ceramic disk, and ball-type. Once you identify your faucet type, the fix becomes much easier.
Here’s how to handle each one:
Compression Faucet
This is one of the older styles, usually with separate hot and cold handles. If you have to twist the handles tightly to shut off the water, you probably have a compression faucet.
Common issue: The rubber washer at the bottom wears out from constant pressure.
Fix:
- Shut off the water supply.
- Remove the handle and unscrew the packing nut.
- Pull out the stem and unscrew the old washer from the bottom.
- Replace it with a new washer of the same size.
- Apply plumber’s grease and reassemble everything.
If the washer looks fine but it still leaks, check the valve seat. It may need cleaning or replacing.
Cartridge Faucet
These are common in both single-handle and two-handle designs. The cartridge inside controls water flow and temperature.
Common issue: Worn or cracked cartridge or O-rings.
Fix:
- Turn off the water and remove the handle.
- Pull out the retaining clip (if present) and remove the cartridge.
- Check for cracks or damaged O-rings.
- Replace with an identical new cartridge.
- Grease the O-rings lightly and reassemble.
Be sure the new cartridge matches the brand and shape of the old one.
Ceramic Disk Faucet
These are durable and found in newer faucets. They have a wide, flat cylinder with ceramic disks inside.
Common issue: Damaged seals or mineral buildup between the disks.
Fix:
- Remove the handle and unscrew the cylinder housing.
- Take out the disk cartridge and inspect the rubber seals.
- Clean any buildup with white vinegar and a soft cloth.
- Replace the seals if damaged.
- Put everything back carefully, and turn the water on slowly to avoid cracking the disks.
Go easy during reassembly. Ceramic parts can chip if forced.
Ball-Type Faucet
These are found in some single-handle designs. Inside is a rotating ball with multiple rubber seals and springs.
Common issue: Worn-out springs or rubber seats.
Fix:
- Remove the handle and unscrew the cap, and collar.
- Take out the cam, washer, and ball.
- Use needle-nose pliers to pull out the springs and rubber seats.
- Replace all parts with a kit designed for your faucet model.
- Reassemble carefully and test for leaks.
This type has the most moving parts, so don’t worry if it feels fiddly. Just go slow and stay organized.
Preventing Faucet Leaks Before They Start
You can stop most faucet leaks before they ever begin. Simple habits and occasional checks can keep things running smoothly and help your faucet last for years.
Here are a few things that make a big difference:
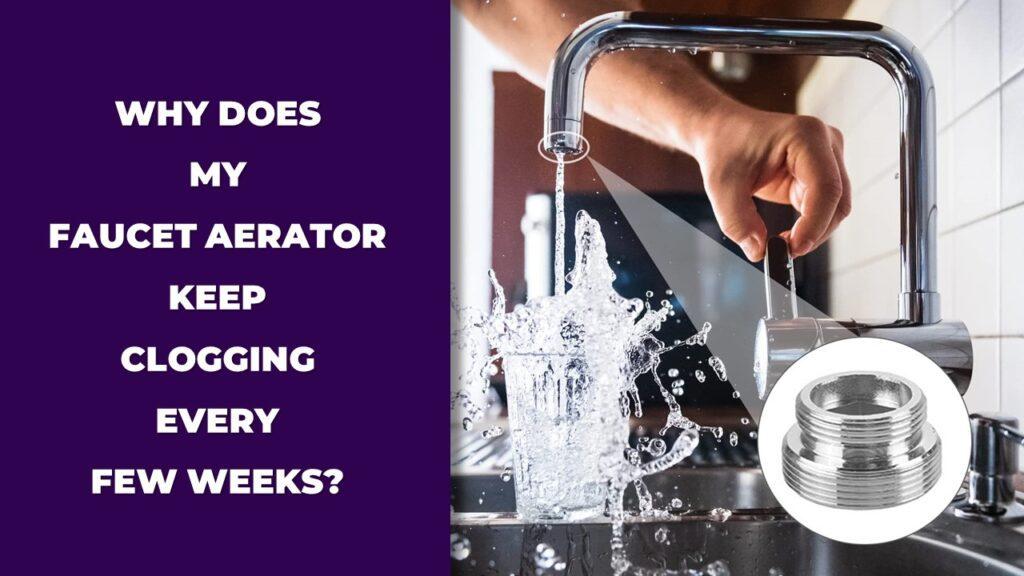
- Clean and Maintain Faucet Internals: Mineral buildup can wear out seals and valves over time. Every few months, clean the aerator and handle base using white vinegar and a soft brush. If you see white or green buildup, wipe it off before it gets worse.
- Monitor and Adjust Water Pressure: If your water pressure feels too strong or you hear banging pipes, you might need a pressure regulator. High pressure can wear out washers and seals much faster. You can get a gauge at a hardware store to check it yourself.
- Use Faucets Gently And Avoid Over-Tightening: You don’t need to crank handles down hard. Just turn them off until the water stops. Over-tightening puts stress on internal parts and leads to early wear.
- Watch For Signs Of Wear Or Rust: A little leak today could mean a big one tomorrow. Keep an eye out for drips, rust spots, stiff handles, or loose parts. Catching a small issue early is a lot easier (and cheaper) than dealing with a bigger mess later.
When To Replace The Faucet Instead Of Repairing
Sometimes a repair just isn’t worth it. If the faucet is old, damaged, or keeps giving you trouble, it might be time for a new one. Here’s how to know when to stop fixing and start fresh.
- Persistent Leaks After Multiple Repairs: If you’ve replaced washers, cartridges, and cleaned everything, and it still leaks, you might be dealing with internal wear that can’t be fixed with parts.
- Severe Corrosion or Pitting: Look closely around the base or inside the faucet. If you see rust, deep pitting, or parts flaking away, the structure may be too damaged to hold up.
- Outdated Or Inefficient Models: Older faucets often waste more water. Newer models are built to save water and energy. If your faucet is more than 10–15 years old, a replacement could lower your water bill, too.
- Faucet No Longer Matches Kitchen or Bathroom Needs: If you’re renovating or changing your sink setup, the old faucet might not fit or match. A newer faucet can give you better function and freshen up the whole space.
Choosing The Right Replacement Parts Or New Faucet
To get the right parts or choose a new faucet, first figure out what kind you have. Is it single-handle or two-handle? Does it use a cartridge or a washer? The only way to get an exact match is by bringing the old part with you or snapping a clear photo.
Faucet parts can look similar, but often have different sizes and shapes. A washer that’s just a little too small won’t stop the drip. If you’re stuck, look for the brand name on the faucet body. That can help you find a match or look up the manual online.
If you’re switching out the whole faucet, measure your sink first. Some people also wonder about widespread vs. centerset faucet compatibility when choosing a replacement. Count how many holes it has. Decide whether you want a single handle or double. And think about things like spray heads or touch features. Simple and solid usually wins. The fewer moving parts, the fewer things that can wear out.
When To Call A Professional Plumber
Sometimes, it’s just time to call in a pro. If you’ve done everything you can, and that drip keeps coming back, there may be more going on behind the scenes. A plumber can help you figure out what’s really wrong and fix it fast.
Hidden problems like cracked valve seats or high water pressure can be hard to catch. If you’ve already replaced washers or cartridges and nothing changed, that’s a sign the issue runs deeper. Professionals deal with this every day, so they’ll know exactly what to check.
Also, if your faucet is corroded or the parts won’t budge, forcing it might make things worse. If you’re worried about damaging anything or just don’t feel confident opening it up, there’s no harm in handing it off. Better safe than flooded.
Environmental And Financial Impact Of A Leaky Faucet
One small leak might not seem like a big deal. But over a year, that slow drip can waste more than 3,000 gallons of clean water. According to the EPA’s Fix a Leak Week, household leaks can account for nearly 10,000 gallons of wasted water every year. That’s water you’re not using, but you’re still paying for on your bill.
The costs don’t stop there. Wasted water means more work for treatment plants, more energy used, and more stress on the local supply. If everyone has even one small leak, the impact adds up fast.
Fixing a faucet is one of those little jobs that gives you a quick win. You save water, lower your bill, and help the environment without changing your routine. It’s a small fix that truly pays off.
Wrapping It Up
Troubleshooting a leaky faucet doesn’t have to feel like guesswork. Whether the problem is a worn washer, a cracked cartridge, or loose parts inside the handle, knowing how to find the cause makes everything easier. Once you figure out what’s leaking and where it’s coming from, you’re halfway to solving it.
Most faucet leaks can be fixed at home using basic tools and a little patience. If you’re still unsure, you can explore more about how to fix common faucet problems that show up in kitchens and bathrooms. We’ve covered how to fix a leaky faucet step by step, broken down repairs by faucet type, and shown how to spot warning signs before they become bigger problems. These small repairs can save water, prevent damage under the sink, and keep your utility bills in check.
Now that you know how to troubleshoot a leaky faucet, don’t wait for the drip to get worse. A quiet leak can waste thousands of gallons over time. Whether you’re swapping out a washer or calling in a pro, staying on top of faucet maintenance is one of the easiest ways to protect your home and your wallet.
Related FAQs
What Causes a Faucet to Leak?
A faucet usually leaks due to worn-out parts like washers, O-rings, or cartridges. Corroded valve seats, high water pressure, or loose internal fittings can also cause leaks over time.
How Do I Know Where My Faucet Is Leaking From?
Check where the water is pooling or dripping. If it leaks from the spout when off, the issue is likely inside the valve. If it leaks around the handle or base, the problem could be with O-rings or gaskets.
Can I Fix a Leaky Faucet Myself Without a Plumber?
Yes, most leaky faucets can be fixed at home using basic tools. If you can identify the type of faucet and the worn part, you can usually repair it by replacing the washer, cartridge, or seal.
How Do I Stop My Faucet From Dripping?
Turn off the water supply, disassemble the faucet, inspect for worn parts, replace the faulty piece, and reassemble it. Then turn the water back on and test for any remaining leaks.
Is a Dripping Faucet a Serious Problem?
Yes, even a small drip can waste over 3,000 gallons of water per year. It also increases your water bill and can lead to long-term wear or damage inside the faucet.
How Can I Prevent My Faucet From Leaking Again?
Clean the aerator regularly, avoid overtightening handles, check for signs of rust or mineral buildup, and fix small drips quickly before they become bigger issues.
When Should I Replace the Whole Faucet Instead of Repairing It?
If the faucet has severe corrosion, continues leaking after multiple repairs, or no longer fits your needs or sink setup, it’s often better to replace it than keep repairing it.

Dylan Foster is a family man with years of hands-on experience in plumbing, household maintenance, and fixing everyday issues around the home. A former plumber, Dylan knows what it’s like to deal with tricky leaks, worn-out parts, and all the little problems that pop up in a house. From plumbing repairs to kitchen fixes and garden hose setups, he’s done it all. Dylan shares real-world solutions to help others keep their homes running smoothly and avoid costly mistakes.