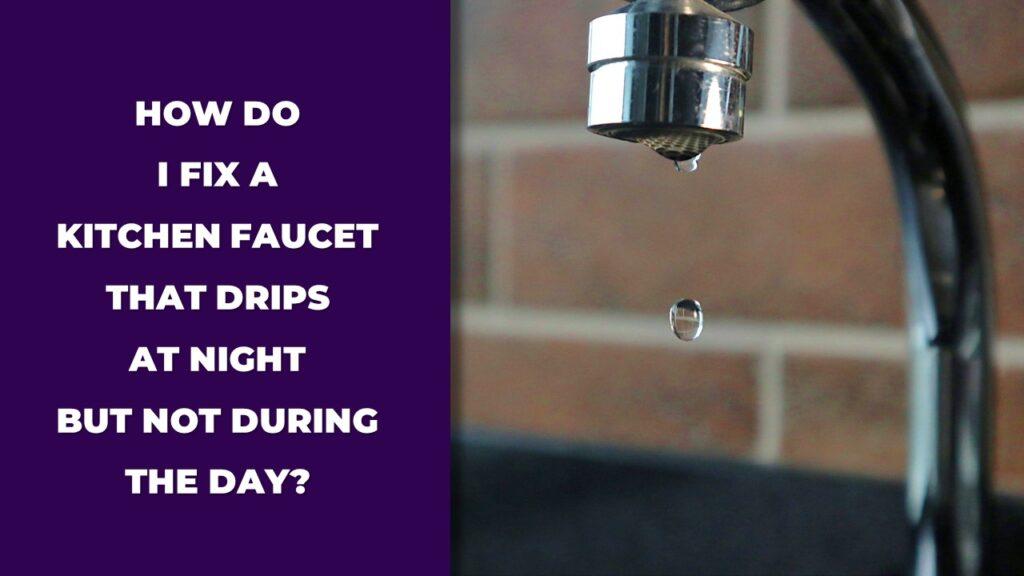
You can stop a leaky faucet without replacing the washer by tightening the packing nut, cleaning the valve seat, sealing threads with plumber’s tape, or lubricating worn O-rings. These simple fixes often solve the problem without needing new parts.
Let’s be honest—listening to that drip… drip… drip all night can drive anyone mad. And when someone casually says, “Just replace the washer,” it’s not always that simple.
The truth is, washers aren’t always the villain. Most leaks come from loose parts, dried seals, or mineral buildup. And that’s actually great news—you might not need a single replacement.
This guide walks you through real-world fixes you can try today, using nothing more than a wrench, a little plumber’s tape, and maybe a bit of patience.
Let’s get that drip sorted—without turning your faucet into a weekend project.
What Causes a Faucet to Leak If the Washer Isn’t the Issue?
Here’s the deal—everyone loves to blame the washer when a faucet starts leaking. It’s the go-to scapegoat. But the truth? That little washer is often innocent. Faucets are made up of several tiny moving parts, and it doesn’t take much for one of them to slip up and start causing problems.
So, if your washer’s not worn out, something else is stirring up the drip. Let’s look at the most common culprits:
- Loose packing nut: This little nut sits just under the handle, and if it loosens even a hair, water can squeeze its way out. Sometimes, all you need is a gentle turn of a wrench to solve the problem.
- Worn or brittle O-ring: O-rings are small rubber loops that help create a watertight seal around the faucet stem. Over time, they dry out, crack, or shift out of place—and that’s often enough to start a slow leak from the base of the handle.
- Dirty or pitted valve seat: This is where the washer or seal presses down to stop water flow. If mineral deposits build up—especially common in kitchen faucets exposed to hard water—the surface becomes uneven and water can’t shut off fully.
- Corroded faucet stem or internal parts: Corrosion eats away at the metal over time, especially in setups that haven’t been cleaned or maintained—like when you confuse a faucet hose with a dishwasher hose, leading to misplacement or missed leaks.
- Faulty cartridge or ceramic disc (in newer faucets): If you have a modern faucet with a cartridge or disc mechanism, wear and tear can still mess things up. You might not see it, but a small crack or sticky movement can let water escape.
A dripping faucet isn’t always about a broken part—it could just be dirty, loose, or slightly misaligned. That’s good news because it means there’s a decent shot you can fix it without running to the hardware store.
Why Fixing a Leaky Faucet Without a Washer Replacement Is Possible
At first glance, fixing a leak without touching the washer might sound like fixing a bike tire without patching the hole. But that’s just it—the “hole” isn’t always where we think it is.
In most cases, homeowners replace the washer way too soon, when in reality the leak is caused by something quicker, cheaper, and easier to fix. Let’s break it down.
- Leaks often start around the stem threads, not the washer itself. That’s why plumber’s tape (Teflon tape) wrapped tightly around the threads can stop water from sneaking through.
- O-rings and seals usually go bad before the washer does. These parts constantly deal with friction as the faucet is turned on and off—especially in metering cycle faucets where timing and pressure create extra wear—and when they wear down, drips follow.
- Loose parts are extremely common. The handle gets used daily, and over time, nuts and screws naturally shift or loosen. Re-tightening a packing nut might stop the leak instantly.
- Some leaks come from hard water residue or debris. A bit of vinegar and a cloth can often clean it right up—no replacements needed at all.
So yes, a dripping faucet doesn’t always mean a trip to the store. Sometimes, it just means looking at the parts nobody talks about and giving them a little care. And when you fix something yourself like this? You feel like a plumbing ninja. Or at least someone who doesn’t have to call one.
How To Identify the Real Cause Behind the Leak
Alright, before we go full-on fix-it mode, let’s slow down and figure out what’s actually wrong. Because if you start yanking parts without knowing what’s causing the leak, you might end up turning a small drip into a full-on geyser. And no one wants that surprise on a Sunday morning.
Start here:
- Shut off the water supply under your sink. Always. It’s the first thing you do before poking around any faucet.
- Take off the faucet handle using a screwdriver. Most handles are held by a screw—sometimes it’s hidden under a cap.
- Check for a loose packing nut. This nut sits just under the handle and is one of the most overlooked causes of leaks—often misunderstood when comparing 4-inch vs. 8-inch faucet setups, where spacing and handle access can hide the real problem.
Now let’s talk about the faucet body:
If you see white or greenish crust around the valve seat, that’s mineral buildup. You can scrape this gently with a toothbrush soaked in vinegar or use a seat wrench if you’re feeling a bit more handy.
Inspect the O-ring while you’re in there. Is it cracked, dried out, or slightly out of place? In this case if yes, you’ve found your leak. If it’s just dry, a little plumber’s grease might bring it back to life.
If you’re still not sure, try this: dry off the whole area, turn the water back on, and slowly watch where the first bead of water forms. That’s your leak. It’s like catching a thief in the act.
Finding the root cause might take a few extra minutes, but it saves you hours of frustration—and potentially money on unnecessary parts.
How To Stop A Leaky Faucet Without Replacing The Washer – 5 Working Fixes
You’ve spotted the leak. You’ve checked the washer. And guess what? The washer’s looking just fine. So now you’re probably wondering, “Okay… then what do I do?”
Here’s the good part: you’ve still got a few tricks up your sleeve. In fact, these five methods are things you can do with a wrench, some plumber’s tape, and maybe a bit of grease—no part replacements required. Let’s get into the real, practical stuff.
Method 1 – Can Tightening the Packing Nut Stop the Leak?
Sometimes the fix is very simple.
Right under the faucet handle sits a little nut called the packing nut. Over time, from years of turning the faucet on and off, it loosens up. Just a little. But that little bit is all it takes to let water sneak out.
What you’ll need:
- Adjustable wrench
- Dry cloth or towel
Here’s how you do it:
Turn off the water under the sink. Take a cloth, wipe the area dry so you can clearly see if any new leaks happen. Now, using your wrench, gently tighten the packing nut—not cranking it down, just a slight twist.
If you overtighten, you risk cracking something, especially on older fixtures. Think of it like turning a pickle jar lid—not too loose, not white-knuckle tight.
Give it a try. Turn the water back on. Still dripping? Try a hair more. If the leak stops here, congrats—you just fixed it in under five minutes.
Method 2 – How To Use Plumber’s Tape to Seal Leaks
This one’s kind of a secret weapon. Teflon tape (a.k.a. plumber’s tape) doesn’t get the spotlight much, but wow does it save the day when leaks come from threads.
Where to apply it:
After you remove the handle and unscrew the packing nut, you’ll see threaded parts—usually where the stem meets the body. That’s where the leak starts when threads wear down over time or don’t seat tight anymore.
Steps:
- Dry the threads with a clean cloth
- Wrap the Teflon tape clockwise around the stem threads—2 to 3 layers is plenty
- Reassemble the faucet and turn on the water
Why clockwise? Because that’s the same direction you screw the nut back on—so the tape tightens with the threads, not against them.
This little move creates a snug, watertight seal. No new parts. No trips to the store. Just tape and time.
Method 3 – What Happens When You Reseat the Valve Seat?
Okay, here’s one most people miss. The valve seat is the flat surface where your faucet’s washer (or seal) presses down to stop water flow. If that seat is pitted, uneven, or crusty from mineral deposits, no washer in the world can help.
Luckily, cleaning or “reseating” it is easier than it sounds.
What you’ll need:
- Seat wrench (cheap and available at hardware stores)
- White vinegar or limescale cleaner
- Small wire brush or toothbrush
Steps:
- Use the wrench to gently unscrew the valve seat (not all faucets have removable seats—check yours)
- Soak the seat in vinegar for 10–15 minutes to break down gunk
- Scrub clean, wipe dry, and reinsert
If the surface still feels rough to the touch, you may need a seat grinder (cheap tool, big impact). A clean seat means the water has nowhere to sneak through—leak stops instantly.
Method 4 – Can You Lubricate Faucet Parts to Stop Leaking?
Yes—especially if the faucet leaks from the handle area or feels stiff or squeaky when turning.
O-rings, cartridge seals, and even rubber washers (even if they’re fine) can dry out or shift out of place. A bit of plumber’s grease brings flexibility and grip back.
How to do it:
- Remove the faucet handle and stem
- Pull out the O-ring or cartridge seal gently
- Apply a thin layer of silicone-based plumber’s grease
- Reinstall and rotate the handle a few times to work it in
What kinds of faucets benefit from this? Mostly cartridge and ball-type faucets. If your faucet feels jerky or doesn’t shut off cleanly, this can make a night-and-day difference.
Just don’t use petroleum jelly—it can break down rubber parts over time. Stick with proper faucet-safe grease.
Method 5 – How To Patch Minor Cracks Without Replacing Anything
If you’re seeing hairline cracks around the faucet base or near the threads—especially on older, metal faucets—you might be thinking it’s a goner.
But sometimes, a little plumbing-grade epoxy or leak sealant is all you need to buy yourself months (sometimes years) of drip-free peace.
When this works:
- Surface-level cracks
- Small weeps near threads that persist after taping
- Areas that aren’t under constant direct pressure
How to patch:
- Clean the area thoroughly
- Dry it 100%—no moisture, no soap residue
- Apply sealant and let it cure as per the product label (usually 24 hrs)
Is this a forever fix? No. But is it good enough to stop a stubborn drip until you feel like dealing with it for real? Absolutely.
What If These Fixes Don’t Work?
Okay, so you’ve tightened the packing nut, taped the threads, scrubbed the valve seat, and even greased the O-rings—and that faucet’s still playing drip-drip in the background like some kind of slow torture. That’s frustrating, no doubt. But it doesn’t necessarily mean you did anything wrong.
Sometimes a leak refuses to stop because something deeper is going on behind the scenes—stuff you can’t see without really taking the faucet apart or replacing some internal pieces.
Here’s what could be going on if nothing worked:
- The cartridge or ceramic disc is damaged: Especially in single-handle faucets, a worn-out cartridge can cause inconsistent shut-off. If water still seeps through after everything else checks out, this is likely the issue.
- The valve seat is beyond repair: If you’ve cleaned and reseated it, but it’s still not sealing properly, it might be too corroded or uneven to function again.
- Hairline cracks in the faucet body: You may not see them, but metal fatigue or corrosion in older faucets can let water slip through in the tiniest gaps.
- Hidden wear inside the stem or threads: Even when everything looks okay, microscopic wear or damage around the stem or handle threads can let water through under pressure.
- It’s just time for a new faucet: If your fixture is old, rusted, or has been fixed multiple times before, it might’ve hit the end of the line.
At this point, you’ve already tried everything reasonable. The good news? You now know what’s fixable and what isn’t. If replacement’s the next step, you’ll be walking into it way more informed than the average homeowner.
How To Prevent Your Faucet From Leaking Again
Let’s face it—no one wakes up thinking, “Today’s the day I want to mess with faucet parts.” The best fix is the one you never have to make. And preventing future leaks isn’t about complicated routines or expensive products—it’s mostly about building a couple of small habits.
Here’s what you can start doing right away to keep your faucet from dripping again:
- Wipe down the base and handle regularly: This stops grime and minerals from building up and wearing down seals or threads.
- Don’t crank the faucet shut like it owes you money: Over-tightening compresses parts that weren’t designed to be squashed and leads to faster wear.
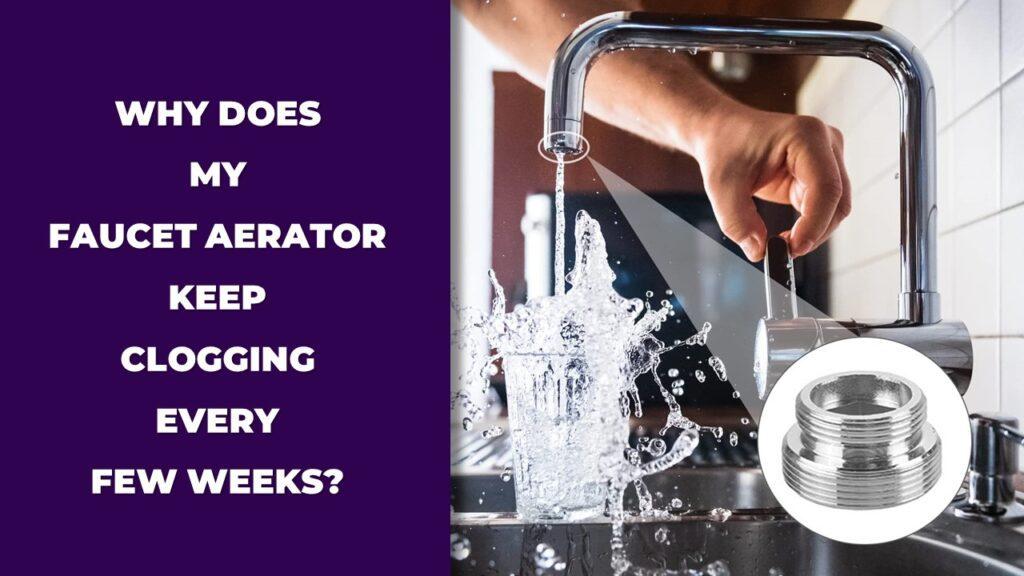
- Clean the aerator monthly: Unscrew the tiny screen at the end of your faucet spout and rinse out debris. Clogged aerators can change water pressure and stress internal parts.
- Grease the O-rings once a year: A drop of silicone-based plumber’s grease keeps rubber seals soft and effective. Think of it like lotion for your faucet joints.
- Keep an eye on water pressure: If your home’s pressure is too high, it puts more strain on faucet seals—particularly in high-end kitchen faucets that rely on precise internal components. A pressure regulator can save your plumbing long-term.
- If you’ve got hard water, install a softener: Calcium and magnesium in hard water don’t just cloud your glassware—they eat away at your faucet from the inside.
These steps don’t take much time, but they make a world of difference. Leaks often start small, and regular upkeep is the best way to stop them before they become annoying or expensive.
Wrapping It Up!
Fixing a leaky faucet without replacing the washer isn’t just possible—it’s often the smarter, faster way to stop that drip. Most leaks come from loose fittings, worn O-rings, or buildup you can clean in a few minutes.
We’ve walked through every practical fix—from tightening the packing nut to using plumber’s tape and reseating the valve. Each method is doable with everyday tools and a little patience, no fancy plumbing experience required.
The best part? These aren’t just temporary patches. In many cases, they hold up for months, even years. That’s less water wasted, fewer sleepless nights, and no need to rush out and buy new parts or call in a pro.
You now know how to identify the real cause of the leak, how to fix it, and how to keep it from coming back—even if it’s something as strange as when your kitchen faucet randomly turns on by itself, which is often a sign of valve or cartridge wear. And that’s more than most faucet owners ever learn. You’ve got this.
FAQs About Fixing a Faucet Without Replacing the Washer
Can a faucet leak even if the washer looks fine?
Yes, absolutely. A faucet can still leak due to loose packing nuts, worn O-rings, damaged valve seats, or dirty threads—even if the washer is in perfect shape.
What’s the easiest fix to try first?
Tightening the packing nut is the quickest and easiest. It often solves the problem in under five minutes without taking the whole faucet apart.
Will plumber’s tape really stop a faucet from leaking?
Yes, if the leak is coming from the threads or stem. Properly applied Teflon tape creates a tight seal and can eliminate leaks fast.
Do I need to turn off the water before starting any repair?
Yes, always turn off the water supply under the sink before working on your faucet. It prevents surprise sprays and makes your job easier.
How do I know if my valve seat is the problem?
If you see mineral buildup or corrosion when you open the faucet, or if resealing doesn’t help, your valve seat may be pitted and causing the leak.
Can I permanently fix a cracked faucet with epoxy?
Epoxy or sealant can stop small cracks temporarily. It’s not a forever fix, but it can hold up for months until you’re ready to replace the part or faucet.

Dylan Foster is a family man with years of hands-on experience in plumbing, household maintenance, and fixing everyday issues around the home. A former plumber, Dylan knows what it’s like to deal with tricky leaks, worn-out parts, and all the little problems that pop up in a house. From plumbing repairs to kitchen fixes and garden hose setups, he’s done it all. Dylan shares real-world solutions to help others keep their homes running smoothly and avoid costly mistakes.