Yes, beginners can install kitchen, bathroom, and outdoor faucets with the right tools and clear steps. Kitchen faucets often have pull-down sprayers and multi-hole mounts. Bathroom faucets are usually simpler, with fewer parts. Outdoor faucets (spigots) require drilling through walls and connecting to a cold water line, but they’re manageable even for first-timers.
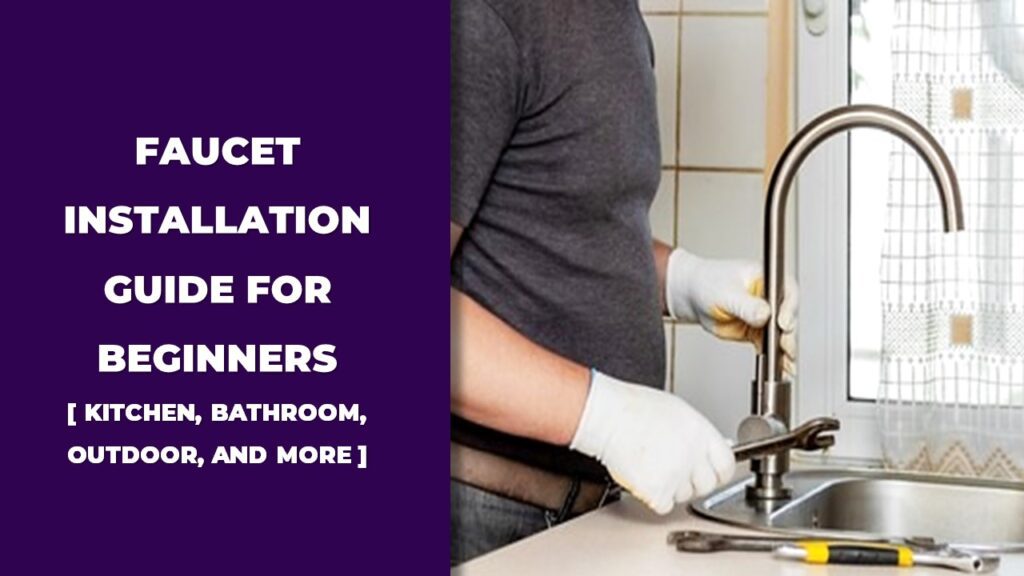
This faucet installation guide for beginners covers how to remove old faucets, choose the right fittings, and install new ones in your kitchen, bathroom, or yard. You’ll learn which tools to gather, how to shut off water lines, seal connections properly, and test for leaks. We also cover common mistakes, safety tips, and how to work with different sink types and faucet hole configurations.
If you’ve got a wrench and a little time, you can handle this. No need to hire a plumber. We’ll help you do it right, save money, and gain confidence in a real, hands-on way.
Tools, Materials, And Prep Checklist (Before You Start)
To install a faucet, you need just a handful of common tools and a bit of planning. Most of these items are already in many homes, and if not, they’re easy to find at any hardware store. The exact list may vary slightly depending on whether you’re installing a kitchen, bathroom, or outdoor faucet, but most of the basics stay the same.
Think of this part like gathering ingredients before you cook. It makes the whole process go smoother. Let’s look at what you’ll need.
Universal Tools For Faucet Installation
Here are the basics almost every faucet job needs:
- Adjustable Wrench – for tightening and loosening nuts
- Basin Wrench – helps reach deep under sinks
- Screwdriver Set – flathead and Phillips for mounting plates or brackets
- Plumber’s Tape – wraps around threads to stop leaks
- Silicone Caulk or Plumber’s Putty – seals the faucet base
- Bucket or Towel – catches any leftover water from the lines
- Work Light or Flashlight – makes it easier to see under the sink
- Cleaning Rag or Sponge – to wipe old gunk off before installing the new faucet
Faucet-Specific Add-Ons
Not all faucets are built the same, so depending on the type you’re working on—kitchen, bathroom, or outdoor you might need a few extras along with your basic tools. These small parts make a big difference in how smoothly the installation goes.
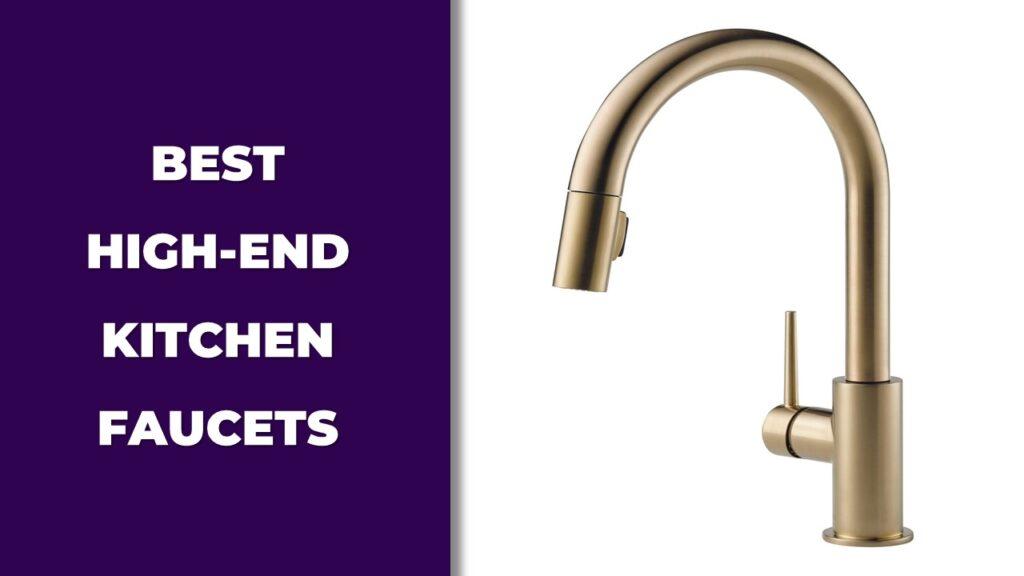
For kitchen faucets, especially ones with pull-down sprayers or multiple sink holes, like many high-end kitchen faucets, keep these handy:
- A deck plate if your sink has more holes than the faucet requires
- A hose weight for pull-down sprayer faucets so the hose retracts properly
- New supply lines, if the old ones are stiff, corroded, or leaking
Bathroom faucets are usually simpler, but space is tighter under the sink. A few small additions can help:
- Gaskets or rubber seals to prevent leaks around the base
- A compact basin wrench to reach awkward spots beneath small vanities
Outdoor faucets take a different approach since they connect through exterior walls and often require new piping:
- Flexible PEX piping to run through tight or angled spots
- A frost-proof sill cock (outdoor spigot) to prevent freezing
- A PEX crimping tool to secure fittings
- Pipe elbows, clamps, and wall anchors to hold everything in place
- A power drill with wood or masonry bits, depending on the wall surface you’re going through
Having these add-ons ready saves you extra trips to the hardware store and makes your job quicker and cleaner.
Quick Table: Tools And Their Purpose
| Tool/Material | Purpose |
| Basin Wrench | Reaches mounting nuts under the sink |
| Plumber’s Tape | Seals threads on supply lines |
| Silicone Caulk | Prevents leaks at faucet base or deck |
| PEX Crimping Tool | Attaches fittings on flexible PEX tubing |
| Adjustable Wrench | Tightens nuts and connectors |
| Screwdriver | Installs brackets or plates |
| Bucket/Towel | Catches water during removal |
| Work Light | Improves visibility in small spaces |
How To Install A Kitchen Faucet (Step-By-Step)
To install a kitchen faucet step by step, here’s what to do:
- Turn off the hot and cold water supply valves
- Disconnect the old supply lines and faucet
- Clean the sink area where the old faucet sat
- Place the new faucet and secure it underneath
- Reconnect the water lines and tighten all fittings
- Turn the valves back on and check for leaks
Now, we’ll go through each part of the job in more detail so you know exactly what to do at each step.
Step 1: Shut Off the Water Supply And Power
Look under the sink and locate the two shut-off valves, one for hot, one for cold. Turn both knobs to the right until they stop. Then, turn on the faucet to let any remaining water drain out. This keeps things clean and prevents water from spraying when you disconnect the lines.
If you have a garbage disposal, unplug it too. It’s safer that way, especially if your hands will be under the sink for a while.
Step 2: Remove Old Faucet And Clean Area
Place a towel or small bucket under the supply lines. Use a wrench to unscrew the connections where the lines meet the faucet. Then, use a basin wrench to loosen the mounting nuts under the sink that hold the faucet in place.
Once it’s free, lift the old faucet out. Use a rag and putty knife to clean up old sealant, gunk, or debris from the sink surface. A clean surface helps the new faucet sit properly and seal without leaks.
Step 3: Prep And Install The New Faucet
If your faucet comes with a deck plate, place it on the sink first. Then, insert the new faucet through the holes. Some models may include a rubber gasket to sit under the base. Check your manual.
Go underneath and hand-tighten the mounting nuts first. Then use your basin wrench to snug them up. Don’t overtighten, just make sure everything feels firm.
Step 4: Reconnect Supply Lines
Wrap plumber’s tape around the threads of the faucet inlets. Connect the hot and cold supply lines. Hot usually goes on the left. Tighten with a wrench, but not too much. Finger-tight plus a small turn is usually enough.
If you’re reusing old lines, check them for cracks or corrosion before reconnecting. If your faucet struggles with lime or mineral buildup, consider using kitchen faucets designed for hard water to reduce clogs and wear. If anything looks worn, it’s best to replace it now while everything is open.
Step 5: Turn On Water And Check For Leaks
Go back to the shut-off valves and slowly open them. Let the water run for a minute. Watch under the sink while the faucet runs and check for any drips.
If you spot a small leak, try tightening the fitting slightly. Still leaking? Turn off the water, remove the fitting, add more plumber’s tape, and reconnect it.
Once everything’s dry and steady, you’re done. You just installed your kitchen faucet.
How To Install A Bathroom Faucet (Single/Double Hole Models)
Bathroom faucets are usually easier to install than kitchen ones. They’re lighter, smaller, and often come with fewer parts. But there’s one thing that trips people up: knowing how many holes the sink has. That’s the first thing to check before anything else.
Know Your Sink Configuration
Sinks come with either 1, 2, or 3 holes. Here’s the quick breakdown:
- 1-hole sinks are meant for single-handle faucets. These are the easiest to install and often come with built-in temperature control.
- 2-hole sinks usually support a faucet plus an accessory like a sprayer or soap dispenser.
- 3-hole sinks are made for traditional two-handle faucets—one for hot, one for cold.
If your new faucet doesn’t match the number of holes in your sink, don’t panic. You might be dealing with a widespread vs. centerset faucet issue, and many modern models come with a deck plate to adapt easily. Most faucets include a deck plate that can cover extra holes. It sits underneath the faucet and hides what you’re not using. Just make sure it fits snug and seals properly.
Installation Steps (Summary Format)
Here’s how to install your bathroom faucet in six quick steps. The space might be tight under the sink, so take your time and don’t rush.
- Shut off the valves under the sink. Turn the faucet on to release any leftover water in the lines.
- Disconnect the old supply lines using a wrench. Place a towel or bucket underneath to catch any drips.
- Remove the old faucet by loosening the mounting nuts under the sink. Lift it out and clean the area with a rag.
- Insert the new faucet through the holes. Use washers or gaskets if provided. Tighten the mounting nuts underneath to hold it in place.
- Attach the new supply lines. Hand-tighten first, then give it a gentle turn with a wrench. Don’t overtighten.
- Turn the water back on. Run the faucet and check for leaks around the base and under the sink. If it’s dry, you’re done.
This job usually takes less than an hour. Just keep a flashlight nearby if your vanity space is dark or cramped.
How To Install An Outdoor Faucet Or Spigot (DIY Guide)
Installing an outdoor faucet takes a little more work than indoor ones, but it’s still very doable with a patient approach. It’s about running a new pipe from an existing cold water line, drilling through a wall, and sealing everything up tightly. This kind of faucet comes in handy for gardens, car washes, or outdoor cleaning.
Choose The Right Location
Where you place the outdoor faucet matters. Here’s what to consider before grabbing your drill:
- Choose a spot near a garden, driveway, or backyard hose area
- Make sure it connects easily to a cold water supply line inside the house, preferably in the basement or behind a sink
- Avoid walls that have hidden electric or gas lines. If unsure, use a stud finder or pipe scanner
Picking the right wall saves a lot of headaches later. If your climate gets cold, install a frost-proof sill cock to avoid frozen pipes in winter.
Required Tools And Materials (PEX-Style Setup)
To make this project beginner-friendly, we’ll use PEX piping. It’s flexible and easier to work with than copper. Here’s your checklist:
- PEX tubing (¾ inch is common)
- Frost-proof sill cock (outdoor spigot)
- PEX elbows and support straps
- Crimping tool for PEX fittings
- Drill with a self-feeding bit for wood or a masonry bit for brick/concrete
- Plumber’s putty or silicone caulk
- Screws and wall anchors
- A pipe cutter or a utility knife
- Bucket, gloves, flashlight
Step-By-Step Outdoor Faucet Installation
Now onto the fun part. Follow these steps closely, and you’ll have water flowing outdoors in no time.
- Turn off the main water supply. Always the first step before tapping into any water line.
- Drill a hole through the exterior wall where the faucet will sit. Be careful with the drill and wear safety glasses.
- Install a transition fitting (e.g., copper to PEX adapter) onto your cold water line inside the house.
- Run PEX pipe from the water line to the drilled hole. Use elbows to bend around beams and straps to secure it to the wall.
- Attach the spigot. Push it through the hole and connect it to the PEX line. Apply putty or caulk around the base and secure it with screws.
- Crimp all the connections using the PEX crimper. Double-check that everything is firm and sealed.
- Turn on the water and test the spigot. Run water through it and watch for leaks inside and outside.
Tip: Add a drain valve at a low point in the line if you live in a cold area. This makes it easier to empty the line in winter.
Estimated Outdoor Faucet Installation Cost
Here’s a basic cost breakdown if you’re buying everything from scratch:
| Item | Avg. Cost |
| Sill Cock | $30–$50 |
| PEX Pipes (per 2 ft) | $4 |
| PEX Crimper Tool | $60 |
| Drill Bit + Extension | $30–$50 |
| Estimated Total | $150–$350 |
Renting tools or reusing existing parts can lower the price quite a bit.
Special Faucet Types And Their Installation Tips
Not all faucets fit the usual kitchen or bathroom mold. Some models need a bit more attention during installation. If you’re working with smart faucets, wall-mounted utility taps, or freestanding tub faucets, here’s what to know before jumping in.
Touchless Or Smart Faucets
These modern faucets are a mix of convenience and technology. They use motion sensors to control water flow, which means fewer germs and a cleaner sink area. Installing one isn’t much harder than a standard faucet, but you’ll want to follow a few extra steps:
- Install the battery box or power source under the sink where it stays dry and is easy to access. Most use AA batteries, but some models plug into an outlet.
- Use the quick-connect fittings that usually come with smart faucets. These snap together with a click and don’t require tools, but make sure they’re fully seated.
- Calibrate the sensor after installation. Each brand has its own method, so keep the manual close. Some need a few button taps; others may detect motion distance automatically.
Tip: Check your cabinet space before installing. Extra components like control boxes can take up more room than expected.
Wall-Mount Faucets (Utility Or Commercial Sinks)
Wall-mounted faucets are common in laundry rooms, garages, or commercial kitchens. They install directly to the wall, not the sink or countertop. That means you’re working with exposed pipes and fittings, so stability and sealing are key.
- Mount the faucet into the wall studs for a solid hold. Use a level to make sure it sits straight.
- Add support brackets if the wall is hollow or if the faucet is heavy. These brackets help prevent sagging or pulling over time.
- Apply thread sealant or plumber’s tape to all threaded water pipe connections. Since everything is exposed, even small drips will be obvious.
Pro tip: Shutoff valves for wall-mount faucets are often hidden behind the wall. Know where they are before you begin.
Freestanding Tub Faucets
Freestanding tub faucets are beautiful, but they’re a bit more advanced when it comes to installation. They’re mounted to the floor, not the tub or the wall, and they pull water from lines that run under the floor.
- Use floor-mounted valves that connect under your tub base. The faucet stands vertically and connects at the top.
- You may need to solder or use compression fittings, depending on the type of water lines in your bathroom. Check what kind of pipe you’re working with before buying parts.
- Always check building codes to make sure your water lines meet clearance and spacing rules. Some locations require a certain distance between the faucet and the tub to prevent backflow.
This type of faucet might need professional help if you’re not comfortable working with floor plumbing, but the installation steps are still manageable for experienced DIYers.
Common Mistakes Beginners Should Avoid
It’s easy to get carried away with confidence when you’re halfway through a project. But slow and steady really does win the race here. Here are some of the most common missteps people make when installing faucets—and how to sidestep them.
- Forgetting to shut off the water properly. Always double-check that your valves are fully turned off before loosening anything. Even a small stream can make a big mess fast.
- Over-tightening fittings. It might feel like tighter is better, but that’s not true here. Cranking too hard can crack plastic connectors or damage soft seals.
- Skipping plumber’s putty or silicone caulk. These create a watertight seal around the base of the faucet. Without them, you may end up with water damage under the sink.
- Hooking up hot and cold lines backward. This one happens more often than you’d think. Always label or trace the lines before reconnecting.
- Not flushing the lines. After installation, run water for a few minutes with the aerator off to flush out debris or air. Skipping this can cause sputters or clogs later on.
Take your time, read your faucet’s manual, and trust the process. Every mistake listed here is fixable, but avoiding them saves you a lot of cleanup and rework.
After-Installation Maintenance And Troubleshooting
Installing the faucet is just one part of the job. The other part? Keeping it working the way it should. A little maintenance now and then helps you avoid leaks, weird noises, or pressure drops later on. Here are a few simple habits that make a big difference.
- Check for leaks under the sink and around the faucet base about 24 hours after installation. Sometimes, slow drips take a while to show up. Use a dry paper towel or tissue and run it along the connections to spot any dampness.
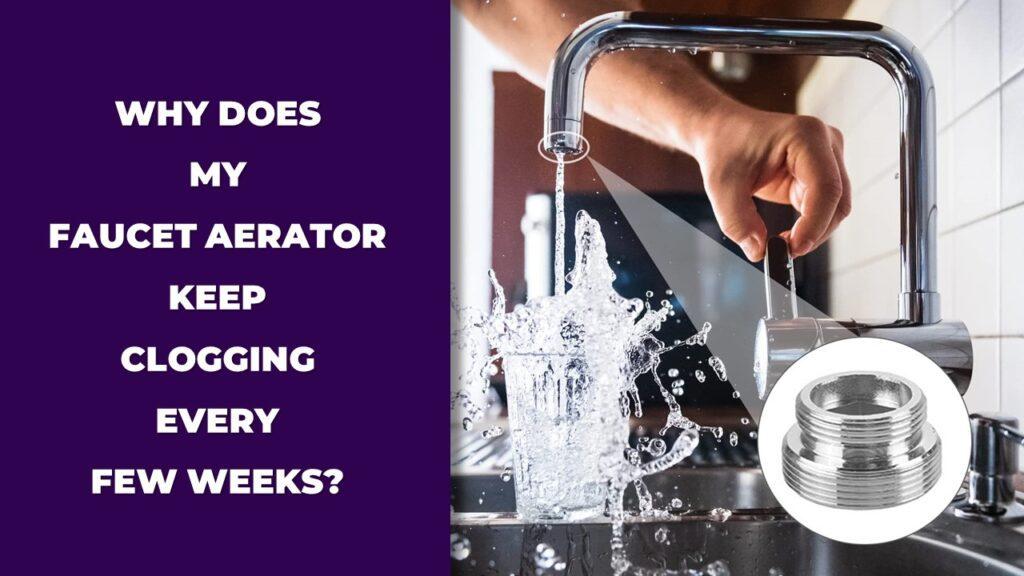
- Clean the aerator once a month. That’s the little screen at the end of the faucet where the water comes out. Unscrew it, rinse it under water, and scrub off any mineral buildup. If your water flow seems weak, the aerator is usually the culprit. If it keeps clogging frequently, it might help to read about why your faucet aerator keeps clogging every few weeks.
- Winterize outdoor faucets before temperatures drop. Shut off the valve inside, drain any remaining water, and consider using an insulated cover on the spigot. This helps prevent freezing and bursting pipes.
- Test shut-off valves once a year. Turn them off and back on again to make sure they still move smoothly. Old valves can get stuck, and it’s better to catch that before you need to use them in an emergency.
These small checks don’t take long, but they go a long way in keeping your faucet problem-free.
Final Thoughts
If you’ve made it this far, take a breath; you’re more than ready to install a faucet. With a little patience and the right tools, this is a project most people can handle. It’s a good way to build confidence with home repairs.
If it’s your first time, try a bathroom faucet first. It’s usually the simplest, with fewer moving parts and more open space under the sink. Once you get the hang of that, the kitchen or even an outdoor faucet will feel easier.
Want your faucet to last? Keep an eye out for leaks, clean the aerator, and make sure your shut-off valves still work. You can also check out some faucet care and cleaning tips to get the most out of your setup.
There are times when calling a plumber makes sense, like if you have corroded pipes, poor water pressure, or can’t find a shut-off valve. But for most straightforward replacements or upgrades, you’ve got this.
Related FAQs
Can A Beginner Install A Faucet Without Calling A Plumber?
Yes, most beginners can install a faucet with basic tools and a step-by-step guide. Kitchen, bathroom, and even outdoor faucets can be handled DIY-style if you follow safety steps like shutting off water properly and checking for leaks after installation.
What Tools Do I Need To Install A Faucet By Myself?
You’ll need an adjustable wrench, basin wrench, plumber’s tape, and silicone caulk or putty. For outdoor faucets, add a power drill and PEX crimping tools. Most tools are reusable for future plumbing tasks.
How Do I Know If My New Faucet Will Fit My Sink?
Check the number of holes in your sink—usually 1 to 3. Single-handle faucets fit 1-hole sinks, while double-handle or accessory faucets need 3 holes. A deck plate can cover extra holes if needed.
How Long Does It Take To Install A Faucet?
It usually takes 30 minutes to 2 hours, depending on the faucet type and your comfort with tools. Bathroom faucets are quicker, while kitchen and outdoor models may take longer due to space or drilling.
Why Is My New Faucet Dripping After Installation?
A drip may mean the supply line isn’t tight enough, the base wasn’t sealed, or there’s leftover debris in the valve. Double-check fittings, use plumber’s tape, and flush the lines with the aerator removed.
Should I Use Plumber’s Putty Or Silicone Caulk?
Both work, but it depends on your faucet. Use plumber’s putty for metal sink surfaces and silicone caulk for porous or stone countertops. Always follow the faucet manufacturer’s instructions for sealing.

Dylan Foster is a family man with years of hands-on experience in plumbing, household maintenance, and fixing everyday issues around the home. A former plumber, Dylan knows what it’s like to deal with tricky leaks, worn-out parts, and all the little problems that pop up in a house. From plumbing repairs to kitchen fixes and garden hose setups, he’s done it all. Dylan shares real-world solutions to help others keep their homes running smoothly and avoid costly mistakes.